
How To
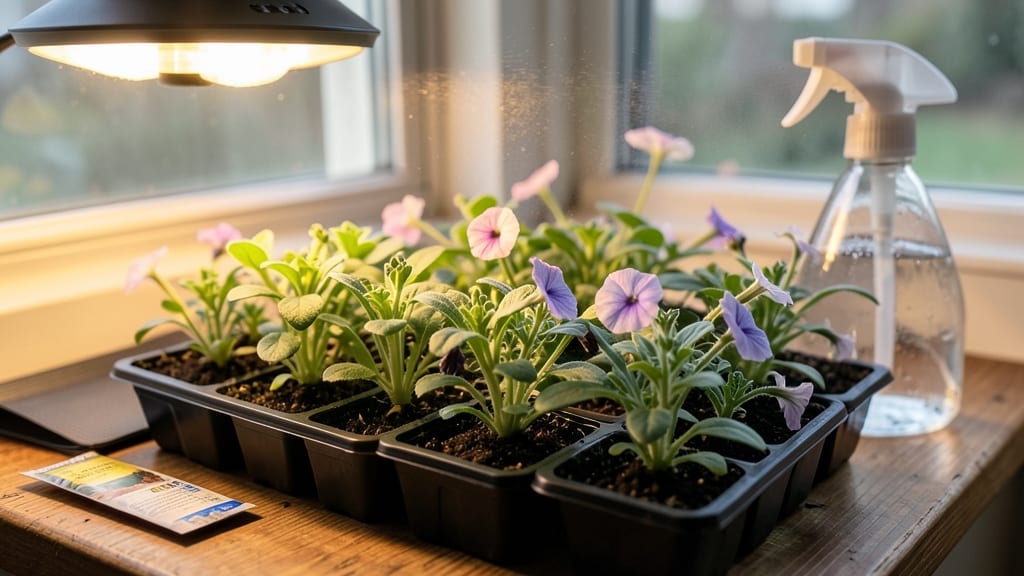
Starting petunia seeds indoors 8-10 weeks before your last frost is the key to vibrant summer blooms that last all season.
Picture this: you’ve got 6-8 weeks of tender seedlings, only to watch them bolt in the heat because you started too late. Or worse, leggy, weak plants that never recover.
Timing is everything, and getting it right means the difference between a garden bursting with 🌸 petunias and a sad, underwhelming display.
For most gardeners in USDA Zone 6a, that means sowing seeds in early February—just enough time for sturdy seedlings before the last frost in mid-April. But if you’re in a warmer zone, you might adjust that window to avoid the rush of transplanting too soon.
Below, I’ll walk you through how to calculate your exact start date, the ideal setup for healthy seedlings, and how to troubleshoot common timing mistakes—so you can enjoy petunias in full bloom by June.
How to calculate your perfect petunia seed starting date indoors
Getting your petunia seeds off to the right start indoors means timing everything perfectly—from last frost dates to seedling maturity. Miss the window, and you’ll end up with weak, leggy plants that struggle to bloom.
But nail it, and you’ll have vibrant summer flowers that steal the show in your garden. The key? Understanding your local climate and petunias’ growth timeline.
Petunias thrive when started 8–10 weeks before your average last frost date. This gives seedlings enough time to develop true leaves and a sturdy root system before facing outdoor conditions. For example, if your last frost is April 15, you’ll want to start seeds around February 1–15.
But this timeline shifts based on your USDA hardiness zone—northern zones need earlier starts, while southern gardeners can wait until late winter.
Before grabbing your seed packets, check three critical factors: your last frost date, petunias’ germination time (7–14 days), and their transplant readiness (6–8 weeks after sprouting). Ignore any of these, and you risk overcrowded seedlings or plants that bolt too quickly.
Let’s break it down step by step so you can calculate your perfect start date with confidence.
Start by locating your last frost date—this is the average date when temperatures stay above 32°F for the season. For most of the U.S., this falls between mid-April and early May, but coastal areas or high-altitude regions may vary.
Websites like the National Weather Service or Almanac tools can provide precise local data. Once you have this date, work backward 8–10 weeks to determine your indoor seed starting window.
Petunia seeds typically germinate in 7–14 days under ideal conditions (70–75°F soil temperature and consistent moisture). However, cooler homes or drafty windowsills can slow this process. To speed things up, use a seedling heat mat or place trays on top of your fridge.
Once sprouted, seedlings need 12–16 hours of light daily—a south-facing window won’t cut it after they outgrow their initial spurt. Supplement with LED grow lights to prevent leggy, weak stems.
Transplanting too early or too late throws off your entire schedule. Aim to move seedlings outdoors after your last frost, when nighttime temperatures consistently stay above 50°F. Before transplanting, harden off your seedlings by gradually exposing them to outdoor conditions over 7–10 days.
Start with 1–2 hours daily in a shaded spot, then increase exposure. This toughens up seedlings so they can handle wind, sun, and temperature fluctuations without shock.
Common mistakes like starting seeds too early (leading to overcrowded trays) or too late (resulting in small, underdeveloped plants) can derail your plans. Pay attention to seedling height—when they reach 2–3 inches tall with 4–
8-Week countdown: weekly checklist for petunia seed starting success
Starting petunia seeds indoors requires precise timing and care to ensure strong, healthy seedlings ready for transplant. The 8-week countdown begins with seed sowing and ends with hardening off—each week brings critical milestones for your petunia seedlings.
Missing these steps can lead to leggy, weak plants or delayed blooms, so let’s break it down week by week for foolproof success.
Your goal is to have bushy, vibrant petunias blooming by early summer. This means starting seeds at the right time, providing optimal light conditions, and avoiding common pitfalls like overwatering or insufficient warmth. Follow this weekly checklist to keep your seedlings on track for a stunning garden display.
- Fill seed trays with sterile seed-starting mix and moisten lightly.
- Sow petunia seeds on the surface—no need to bury them.
- Cover trays with plastic wrap to retain moisture and warmth (70-75°F).
- Remove plastic wrap once sprouts emerge (usually 7-14 days).
- Place trays under grow lights (14-16 hours/day) for strong stems.
- Keep soil consistently moist but avoid waterlogging.
- Thin seedlings to 1 inch apart to prevent overcrowding.
- Apply balanced fertilizer (5-10-5) at half-strength when true leaves appear.
- Rotate trays daily for even light exposure and prevent stretching.
- Gradually introduce outdoor conditions (start with 1 hour/day).
- Acclimate seedlings to wind and sun over 7-10 days before transplanting.
- Water deeply before moving to garden beds to reduce transplant shock.
During weeks 1-2, the key is maintaining warmth and moisture while waiting for germination. Petunia seeds are tiny and slow to sprout, so patience is critical. Use a heat mat if your home runs cool, as consistent warmth (around 70°F) speeds up the process.
Avoid disturbing the soil until sprouts appear to prevent seed displacement.
By week 4, your seedlings should have true leaves (not just the initial cotyledons). This is the perfect time to transition them under grow lights if natural light is insufficient.
A common mistake is relying solely on a sunny windowsill, which often leads to leggy, weak seedlings. Supplement with LED grow lights 12-16 inches above the trays for best results.
As you approach week 6, focus on fertilizing and thinning. Overcrowded seedlings compete for nutrients, stunting growth. Use a sterile tool to snip unwanted seedlings at soil level, leaving the healthiest one in each cell.
Fertilize lightly every 2 weeks to support robust root and foliage development, but avoid overdoing it—salt buildup can harm delicate seedlings.
Finally, hardening off in weeks 7-8 is where many gardeners trip up. Rushing this step can shock your petunias, causing wilting or stunted growth. Start by placing trays outside in partial shade for a few hours, then gradually increase exposure to direct sunlight and wind.
This toughens their cell walls and prepares them for the garden.
With this 8-week checklist, your petunia seedlings will be ready to thrive in their final home, bursting with color from early summer through fall. Happy growing! 🌸