
Planting
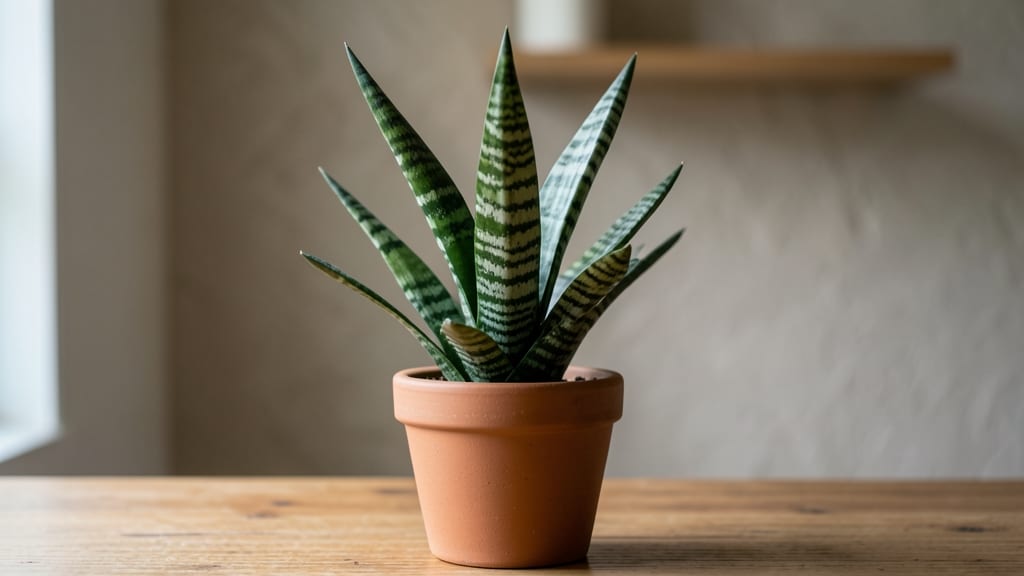
Growing thriving indoor pot plants isn't about luck—it's about matching the right soil, light, and care to what your plants actually need. 🌱 I've turned my sun-starved apartment into a lush jungle by focusing on three key factors: drainage, light placement, and watering routines that keep roots happy (not soggy).
The results? Plants that grow faster and stay vibrant all year, not just for a few weeks after buying them.
Start with the right container and soil mix—most people overlook how critical this is. A pot with drainage holes prevents root rot, while a lightweight potting mix (not garden soil) keeps roots breathing.
Place your plants where they'll get at least 6 hours of indirect light daily, rotating them weekly so they don't grow lopsided. Even low-light plants like snake plants or ZZ plants will thrive with this basic setup.
Watering is where most beginners go wrong—soaking until water runs out, then waiting until the soil is bone-dry. Instead, check the top inch of soil: if it's dry, water thoroughly; if it's still damp, wait another day.
This simple habit cuts down on root rot by 80% and keeps leaves crisp instead of yellow or wilted. The payoff? Plants that grow consistently, not just sporadically.
Troubleshooting is easier than you think—yellow leaves usually mean overwatering, brown tips mean dry air, and pests (like spider mites) show up when plants are stressed. A quick spray with water or neem oil fixes most issues before they spread.
With these basics, your indoor plants will grow stronger, greener, and healthier than you ever expected—no green thumb required.
📚 In This Guide
- What you need
- Instructions
- Tips and common mistakes
- Wrapping up and next steps
What you need
- ● Pot: 1–2 containers with drainage holes (size depends on plant—small for herbs, medium for succulents, large for leafy greens like pothos). Pro tip: Terracotta or ceramic works best for airflow!
- ○ Potting Mix: 1 bag (5–10 lbs) of high-quality, well-draining soil blend (e.g., 60% peat/coir, 30% perlite, 10% vermiculite). Optional: Add compost for nutrient boost.
- ● Indoor Plant: 1 healthy starter plant (e.g., snake plant, spider plant, or mint—check light needs!).
- ● Watering Can: 1 with a narrow spout for precision watering.
- ● Fertilizer: 1 bottle of balanced liquid fertilizer (10-10-10 or organic options like fish emulsion).
- ○ Gloves: 1 pair (optional but handy for soil handling!).
- ● Trowel or Spoon: 1 small tool for transplanting.
- ● Spray Bottle: 1 for misting (great for humidity-loving plants like ferns).
- ○ Grow Lights (Optional): LED or fluorescent lights for low-light areas.
- ○ Self-Watering System (Optional): Wick or reservoir kits for busy plant parents!
- ● A sunny spot (or grow light) matching your plant’s needs (e.g., bright indirect for monstera, low light for ZZ plants).
- ● Room temperature (65–75°F) and moderate humidity (40–60%).
- ● Patience! Some plants take weeks to show signs of growth. 😉
Step-by-Step instructions for thriving indoor pot plants
Here's how to keep your leafy companions happy with the right balance of soil and light.
🪴 Step 1: Select the Right Pot and Drainage
Start with a pot that's 1-2 inches larger in diameter than the plant's root ball. Terracotta pots work best for most plants because they breathe—plastic traps moisture and can rot roots. Always check for drainage holes; if they're missing, drill a few yourself. I like to place a coffee filter over the hole before adding soil to keep it from washing out.
For plants like ferns or calatheas, use pots with saucers to catch excess water. Without proper drainage, even the hardiest plants will struggle. If your plant came in a plastic nursery pot, remove it completely—those roots will circle and strangle themselves if left intact.
🌱 Step 2: Prepare Well-Draining Potting Mix
Never use garden soil—it compacts and suffocates roots. Instead, mix two parts potting mix with one part perlite or orchid bark for better aeration. This combo prevents soggy soil while still holding enough moisture for roots. Fill the pot about ⅔ full, leaving room for the plant and a top layer of mulch.
Tap the pot gently on the table to settle the mix, then water it thoroughly until water runs freely from the drainage hole. This pre-moistening ensures the soil stays evenly damp when you transplant. For moisture-loving plants like peace lilies, add a handful of coconut coir to the mix for extra water retention.
☀️ Step 3: Position for Optimal Light
Most indoor plants thrive in bright, indirect light. Place them near an east-facing window for gentle morning sun, or a foot away from a south-facing window to avoid harsh afternoon rays. If your space is dim, supplement with a grow light kept 6-12 inches above the plant for 12-14 hours daily.
Rotate the pot a quarter turn weekly so the plant grows evenly toward the light. You'll notice leaves stretching toward the window? That's a sign it needs more light. For variegated plants like pothos, insufficient light causes the white patterns to fade—keep them bright to maintain their striking colors.
💧 Step 4: Water with Precision
Water when the top inch of soil feels dry. Stick your finger in—if it's damp, wait another day. Overwatering is the #1 killer of houseplants. Pour water slowly until it drains from the bottom, then empty the saucer immediately to prevent root rot. Most plants prefer bottom watering, which encourages deeper root growth.
Here's the trick: Water thoroughly the first time, then let the plant tell you what it needs. If the soil dries quickly, your plant is thirsty; if it stays wet for days, you're overdoing it. For plants like snake plants or zz plants, let the soil dry completely between waterings—they store water in their leaves and roots.
🌿 Step 5: Maintain Humidity and Clean Leaves
Many indoor plants love humidity. Group plants together to create a mini greenhouse effect, or place the pot on a tray filled with pebbles and water. As the water evaporates, it increases humidity around the leaves. For tropical plants like ferns, mist the leaves lightly every few days—just avoid wetting the soil.
Dusty leaves block light and prevent photosynthesis. Wipe them down every 2-4 weeks with a damp cloth or sponge. You'll see a dramatic difference in growth almost immediately. For large-leaved plants like monstera, use a soft brush to gently remove dust from the undersides where pests love to hide.
Tips & tricks for thriving indoor pot plants
Between us, these little details make all the difference between a plant that thrives and one that just survives.
Pot Selection Matters: In Step 1, when choosing your pot, remember that terracotta isn't just about aesthetics—it actually helps regulate moisture. For plants like calatheas that love humidity, I add a layer of pebbles at the bottom before the coffee filter and soil. This creates a reservoir that keeps roots consistently moist without waterlogging. The 1-2 inch size guideline is perfect—too big and you'll struggle with overwatering, too small and roots get cramped.
The Soil Mix Game-Changer: When you're prepping that two-part potting mix to one-part perlite ratio in Step 2, don't skip the tapping step. I tap the pot firmly on the table about 10 times after adding the mix—this eliminates air pockets that could prevent proper water distribution. For tropical plants, I add an extra handful of coconut coir to the mix (about ¼ cup) which helps retain moisture without compacting like peat moss can.
Light Positioning Secrets: That 6-12 inch grow light range in Step 3 is your sweet spot, but here's what nobody tells you—the light should be directly above, not angled. I use a small clip-on light for my windowsill plants and adjust it every few days to maintain that perfect distance. For variegated plants, I've noticed the white patterns actually brighten noticeably when they get consistent light—it's like they're showing off!
Watering Wisdom: The finger test in Step 4 is foolproof, but here's my pro move: I use a chopstick instead of my finger. It's cleaner and gives you a more precise measurement of that top inch. For plants that dry out quickly, I water until I see moisture coming out the drainage hole, then let it sit for 5 minutes before emptying the saucer. This ensures the roots get properly hydrated without sitting in standing water.
Pro Tips for Indoor Pot Plant
- Between us, these little details make all the difference between a plant that thrives and one that just survives.
- Pot Selection Matters: In Step 1, when choosing your pot, remember that terracotta isn't just about aesthetics—it act...
- The Soil Mix Game-Changer: When you're prepping that two-part potting mix to one-part perlite ratio in Step 2, don't ...
Frequently asked questions
Got questions about growing thriving indoor pot plants? You’re not alone! Here are answers to the most common concerns—from lighting hacks to troubleshooting wilting leaves.
How much light do indoor pot plants really need?
Most indoor plants thrive with bright, indirect light (6–8 hours daily). South- or west-facing windows are ideal, but avoid harsh afternoon sun. For low-light spots, try snake plants or ZZ plants—they’re tough as nails! Rotate pots weekly for even growth.
What’s the best soil mix for potted plants?
Use a well-draining potting mix (avoid garden soil—it compacts!). A blend of peat moss, perlite, and compost works for most plants. For succulents, add extra perlite or sand. Pro tip: Sterilize soil by baking it at 200°F (93°C) for 30 minutes to kill pests!
How often should I water my indoor pot plant?
Water when the top 1–2 inches of soil feel dry. Overwatering is the #1 killer—stick your finger in the soil to check! Most plants prefer less water than you think. Drainage holes are a must; empty saucers after 10 minutes to prevent root rot.
Why are my pot plant leaves turning yellow?
Yellow leaves usually mean overwatering or nutrient deficiency. Check the roots—if they’re mushy, trim the rot and repot. For nutrient issues, use a balanced liquid fertilizer (diluted to half-strength) every 4–6 weeks. Bonus: Move the plant to better light if growth is slow.
Can I reuse old pots for new plants?
Yes! Clean pots with soapy water and a 10% bleach solution (rinse well) to kill bacteria. Scrub off old soil, and if the pot has cracks, replace it—drainage matters! Pro move: Add a layer of fresh potting mix to refresh depleted nutrients.
What’s the easiest indoor pot plant for beginners?
Start with pothos, spider plants, or cast iron plants—they’re nearly indestructible! These thrive in low to medium light and forgive occasional watering slip-ups. Bonus: They’re also pet-friendly (unlike lilies or aloe).
Wrapping up and next steps
Indoor pot plants bring life, color, and tranquility to your space—and you now have the expert tips to make them thrive! 🌱 From mastering the perfect soil mix to harnessing natural light (or supplementing it smartly), these tricks will transform your green thumb dreams into reality. Start small, stay consistent, and watch your plants flourish!
Ready to take the next step? Pick your favorite indoor plant, gather your supplies, and begin your growing journey today! Whether you’re a beginner or a seasoned gardener, every pot has the potential to become a lush masterpiece—your hands can make it happen.